

The big idea with the backdrops here is to create as much three dimensional depth and life as possible out of two dimensional static images, and we do this by layering the paint, layer the drops, and lastly using layers of light.
 There will be three layers of light; from the front, in between, and from the back. Each layer has lights from above and below. Each of these sets of lights will have at least three colors so that our lighting designer (Don Holder) can mix an endless variety of color, and by using these lights in different combinations he can highlight different aspects of the painting to make it day, or night, make it feel like we're looking at a different forest, or even imperceptably lighten or darken the mood of the scene you're watching.
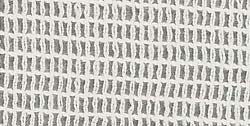 There are also three layers of backdrop. The first layer is painted on scrim. Scrim is "100% Cotton. Commonly used for the "bleed-through" effect. When Sharkstooth Scrim is lit from the front at a highly oblique angle, and the stage behind the scrim is totally dark, the scrim appears opaque and renders the scene behind the scrim invisible. When the scene behind the scrim is illuminated and the front lights on the scrim are dimmed, the scrim becomes "invisible," revealing the upstage scene." We get ours from Rosebrand - (I borrowed their description too). The second layer is painted on a translucent cotton back drop. And the third layer is just an opaque plain white drop called a "bounce" that gives you a blank neutral background that you can "bounce" the light off.
 Then there are the layers of paint. First we lay down the templates we made a few weeks back by projecting the rendering onto full size paper and tracing the outline of the trees. The white scrim is laid down on top. Lori decided to paint the white birch trees a shade of green on the template so that they would read behind the white scrim.
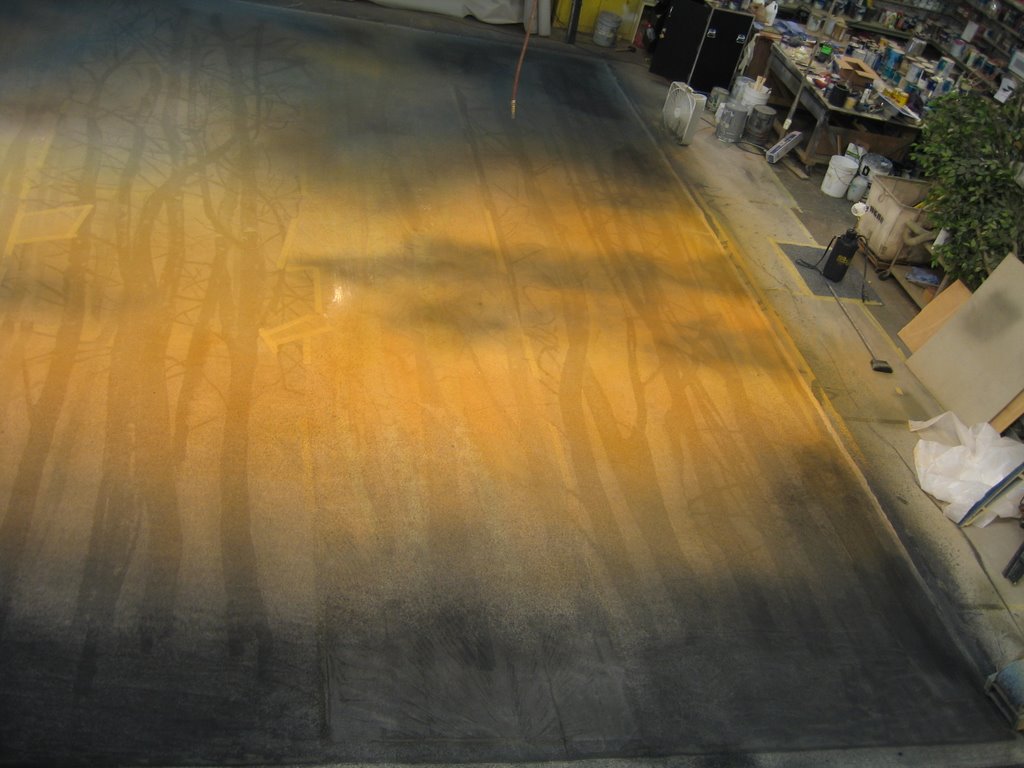 Next the colors of the sky and clouds are sprayed on. This drop has about sixteen colors between the sky, clouds, trees and other foliage. Lori and her team used two spray techniques to paint the sky. The base colors were laid in with "Hudson" sprayers (which are a lot like garden variety air pump sprayers). The fine work was done on top of that with a compressed air spray gun. The paints used are custom theatrical paints with a lot of pigment in them called Rosco "Super Sats". The paint is mixed very thinly as we don't want the binder to block all the holes and make our transparent fabric opaque. We try to avoid using dyes, even though the color is much more vibrant, because they are toxic and require lots of safety precautions during application.
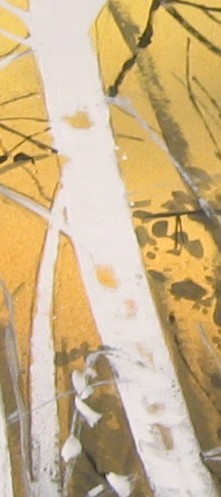 Then the trees were painted onto the scrim using 3" rollers. The rollers technique was used because it's quick. The white birch trees (left) were rolled and painted with a filler so that they would not let any light through. They will be opaque and when lit from behind read as silhouettes. It took three layers of differently tinted whites. We also used the roller technique and because it's a little splotchy... leaving color from the background layer to bleed through, again providing depth.
  In this close up (right) you can see the vibrant colors of the sky nicely popping behind and through the trees.
Finally the shrubery in the foreground and the "ghost" trees in the background are rolled and brushed in. These are painted with a very translucent technique so they will fade away adding yet another layer of depth. The bottom of the scrim was painted with a lot of saturation and will be mostly black in order to help hide some lights that will be placed as a "groundrow" behind the scrim.
Here's a shot of a portion of the finished product. This scrim, not including the time it took to make the templates, took one week to paint. I'll talk about the translucent drop in the next post. Stay tuned.

2 comments:
Wow- thank you for the very detailed step by step! I'm an artist and beginning scenic painter and I'm always looking to find new ways to accomplish painting big drops as efficiently as possible.. I'm also interested in furthering my training- can you suggest any good schools or programs that really focus just on scenic painting?
Hi Lisa,
Colbalt Studios (www.colbaltstudios.net)has great training. Carnegie Mellon and SUNY Purchase also have good painting instruction within their theatre program.
Best,
Todd
Post a Comment